 Color balancing is critical for getting good footage out of your camera. While today’s modern video cameras and DSLRs do have good auto balance but they only work about 75% of the time. Often if you leave things to the Auto White Balance you will do a lot of post color correcting. Follow along as I show you how to get perfect color renditions from your camera.
Canon DSLR Cameras
The steps to set a custom white balance on Canon cameras are as follows:
1. Take a still image on a white card, 18% grey card or pure white background.*
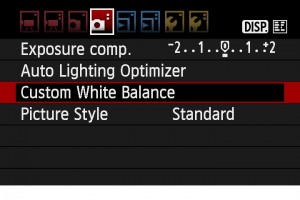
 2. Go to your menu and select Custom White Balance (on a T2i This is the Second Camera Sub menu) and select the image you just shot.
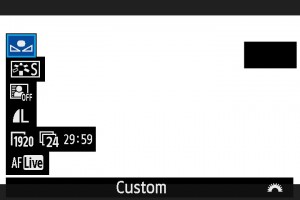
 3. Hit DISP. and with White Balance selected, scroll to the custom icon (a square above 2 triangles). (On a 5D mk II instead of DISP hit the WB button)
Panasonic DSLR Cameras
The steps to set a custom white balance on Panasonic cameras (like the GH2) are as follows:
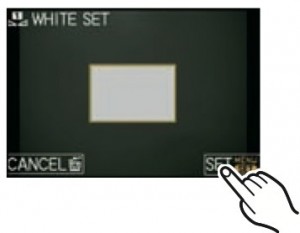
 1. Select the white set icon, and then touch [SELECT WHITE SET].
2. Select bank 1, 2, 3 or 4 and then touch [WHITE SET].
3. Aim the camera at a sheet of white paper etc. so that the frame in the center is filled by the white object only and then touch [SET].*
Nikon DSLR Cameras
 The steps to set a custom white balance on Nikon cameras are as follows:
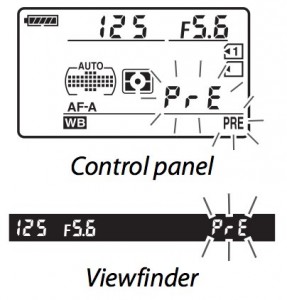
1. WB button and use scroll wheel to get to PRE
2. Hold WB Button until PRE begins to blink.
3. Take picture of white or grey card or white image.*
*Be aware that if you shoot anything other than a card, your “white” will be a bit off. I always carry a white card with me. You can also try these cool white/grey card alternatives:
Ezybalance Card by Lastolite![]()
ExpoImaging ExpoDisc![]()
If your HDSLR camera is not listed here or you have a question or comment, please feel free to leave a comment. I love comments!
{ 2 comments… read them below or add one }